
Icebox Cake Recipes: All the Hottest Tips and Tricks for Making the Coolest Cakes
An Icebox Cake is an old-fashioned, no-bake, refrigerated cake made from nothing more than cookies and whipped cream. Such a description, however, hardly does the confection justice. The cake-making alchemy that takes place in your icebox (refrigerator) is truly magical!
While these two simple ingredients rest together in the fridge, the cookies turn soft, pillowy, and cake-like as they absorb the cream, resulting in a treat that is luscious, light, and deeply addictive.
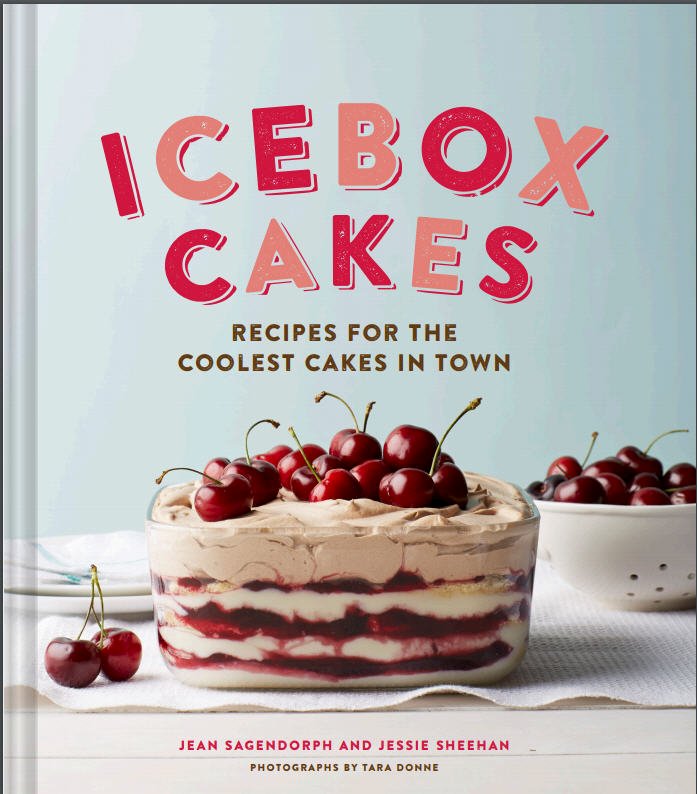
Jessie Sheehan is the co-author of Icebox Cakes [paid link] (Chronicle Books, 2015) and she shares her best tips for Ice Box Cakes below.
Ice Box Cake Ingredients
You just need cookies and whipped cream, but these can take many forms – and substitutions abound.
Cookies, Graham Crackers, or Ladyfingers
The “cakey component” of an icebox cake, as I like to call it, can take many forms – be it cookie, cracker or finger.
A traditional chocolate icebox cake is made with chocolate wafer cookies, but those assembled with lemon or ginger cookies – or even lavender – will bring your old fashioned icebox cake to a whole new 21st century level.
- Cookies must be thin and very crispy. Soft and/or very thick cookies (such as shortbread or biscotti) will not absorb the whipped cream as well. They will make for either a soggy cake or one that is a tad too toothsome. Cookies are best assembled with cakes calling for whipped cream; they tend to get a bit too mushy when combined with pudding.
- Graham crackers are a perfect “cakey component” and should be combined with pudding (as opposed to whipped cream) due to their sturdiness.
- Ladyfingers also do best with pudding and I prefer a soft, cakey finger, to a crunchy one.

Whipped Cream or Pudding
The “creamy component” can also take several forms:
- Homemade whipped cream is best whipped until stiff peaks form, a bit longer than you would if topping a piece of pie or a bowl of ice cream. The stiffer the peak, the more stable the cake will be, and this is particularly important if you assemble a free-form cake or cupcake. I tend to add about 1 to 2 tablespoons of confectioners’ sugar to every cup of heavy cream. And, if adding extract, zest, juice, booze or spice, the safest bet is to add to taste.
- Pudding is best combined with graham crackers or ladyfingers as it tends to turn cookies to mush. You can use homemade pudding, but cakes made with Cool-Whip and Jell-O Pudding mixes are awfully yummy, too.
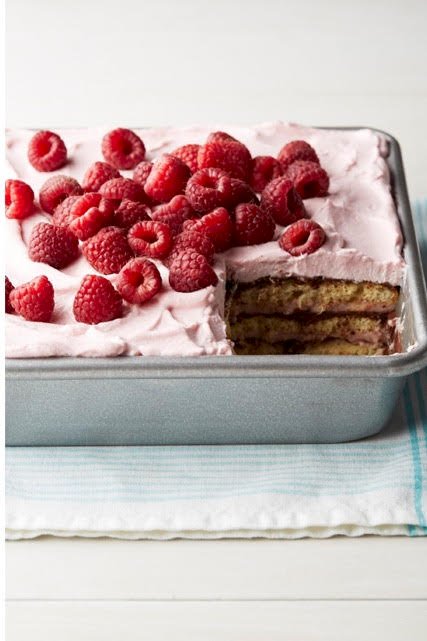
Flavoring your whipped cream (or pudding) is highly encouraged. Try strawberry whipped cream, peach whipped cream, or chocolate whipped cream!
Add-Ins
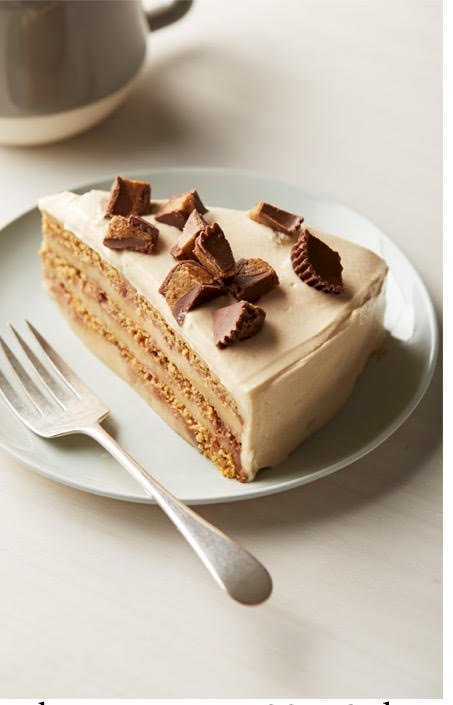
This is where you can have a lot of fun with your cake. Not only can you flavor your cream or pudding or use flavored cookies (as described above), but you can add layers of lemon curd to make a lemon icebox cake, or add salty caramel, dark chocolate ganache or marshmallow fluff to your cake, transforming it into nothing short of a celebration showstopper.
Assembly
Not only are there endless options for flavoring your cake, but assembling it can also take many forms. Icebox cakes can be made in springform pans, pans made of Pyrex, a loaf pan, in cupcake liners, or assembled free-form on a platter.
Choosing a Vessel or Shape
Icebox cakes can be assembled in any vessel or in any shape that you choose, provided you remember this: cakes made with pudding or runny add-ins such as caramel or ganache do best in vessels with sides to eliminate oozing and spillage.
Can you attempt a cake with ganache in a springform pan and hope for the best upon removal of the pan’s sides? Of course, and I have done so in my book. But to be on the safe side, I would save add-ins for cakes made in your prettiest pottery or a Pyrex dish.
Layering

- I always begin with a layer of the creamy component, as it anchors the cake to the surface of the pan, dish or platter, followed by a layer of the cakey component.
- I like to keep the layers thin – just enough of the creamy component to completely cover a layer of the cakey, and then just enough of the cakey component so that the entire layer of creamy is covered, with no holes or gaps between cookies or crackers. This usually requires breaking the cakey component into pieces.
- If assembling with add-ins, I like to thinly spread the add-ins on top of the cakey layers. Layer the components until you run out (!) or reach the top of your vessel.
Set Up
- Once assembled, place the cake in the refrigerator, lightly covered in plastic wrap.
- If using store-bought ingredients, I like to let the cake rest for 5-8 hours, but preferably overnight.
- If using a homemade cakey component, a full 24 hours is required, as the homemade cookies, crackers, and fingers take longer to absorb the creamy component than their store-bought counterparts.
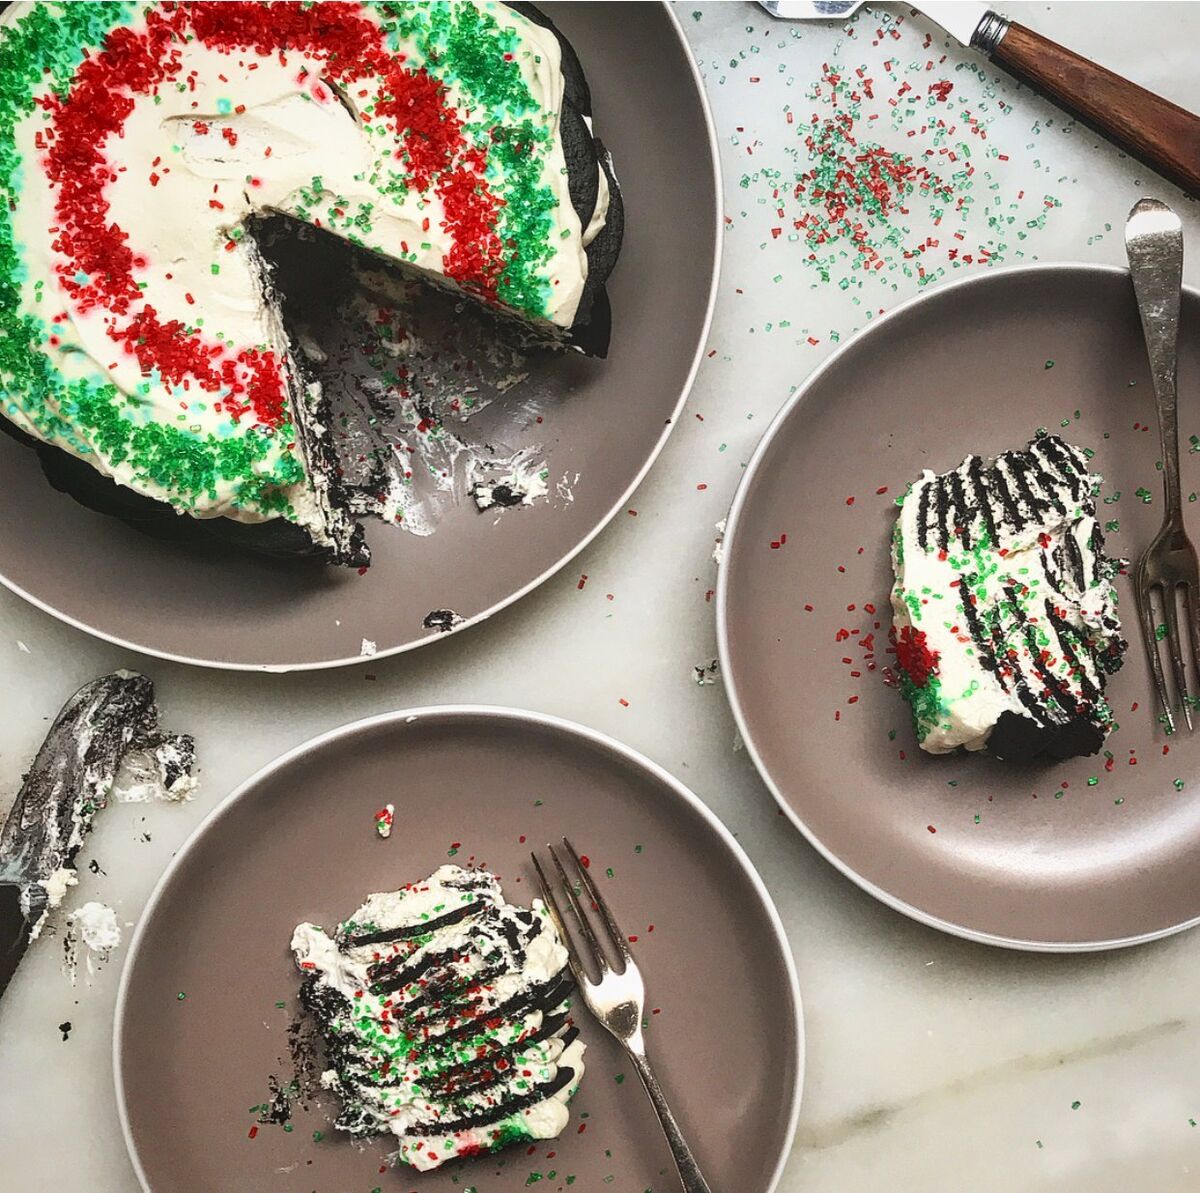
Decorating
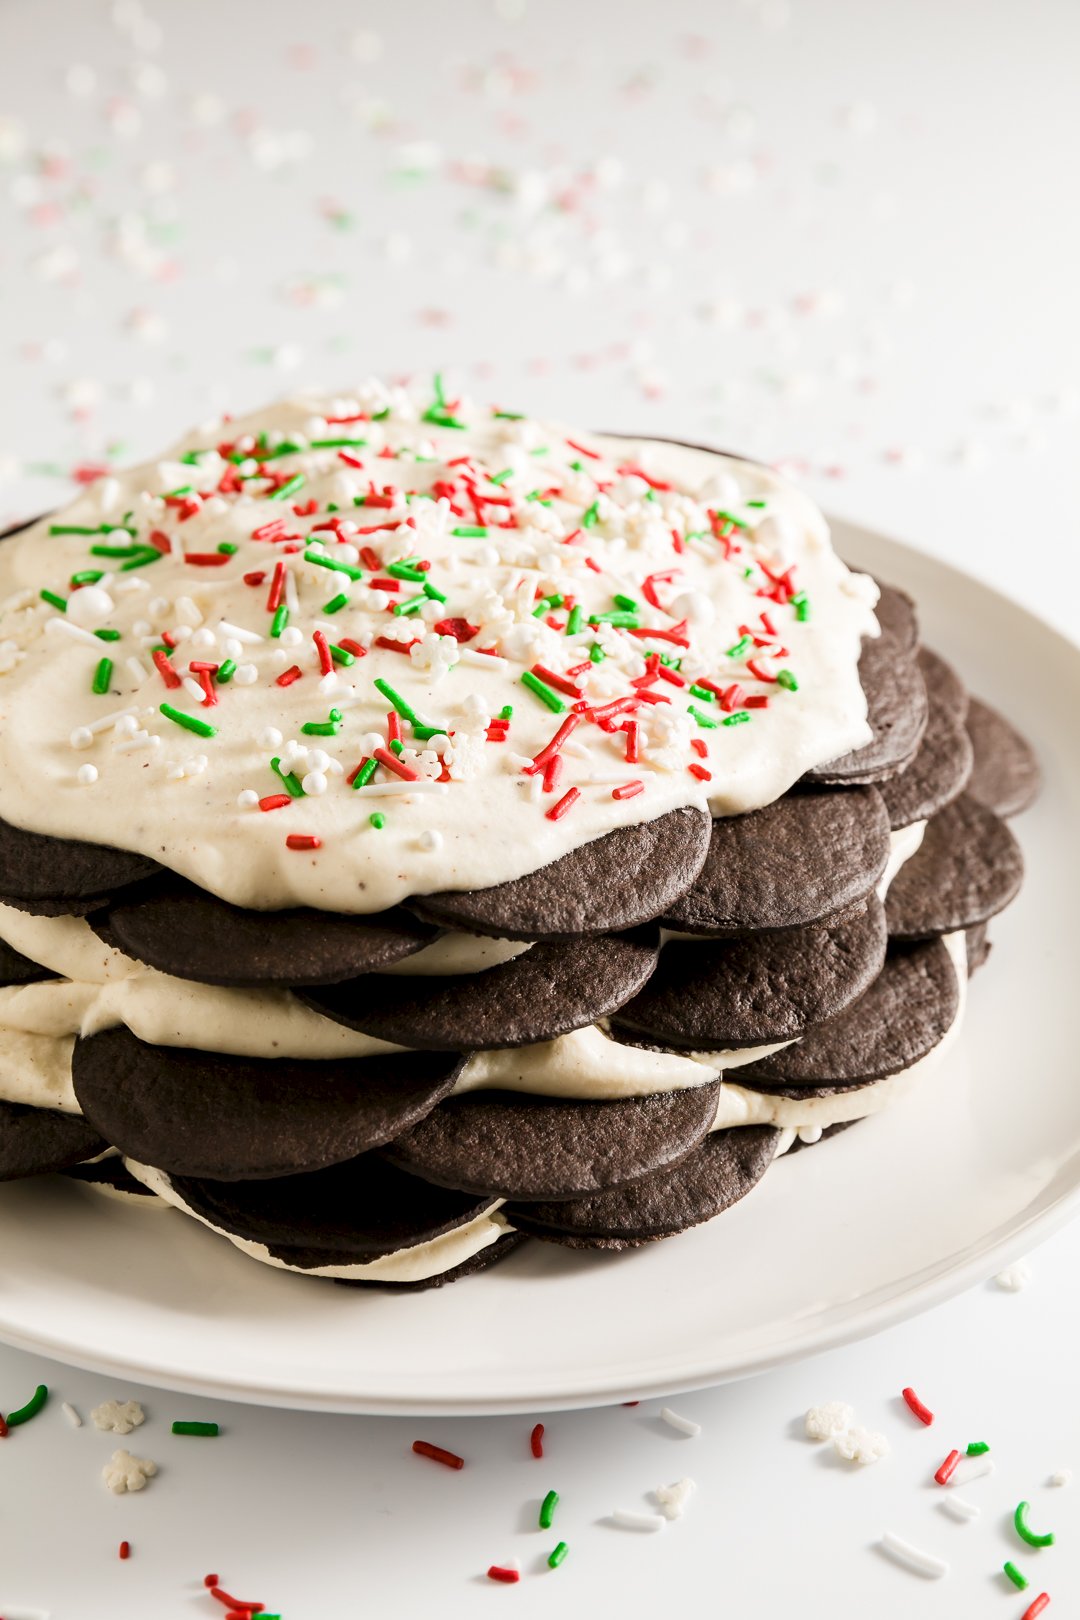
I recommend decorating your cake after it has set up. Sparkling sugar, crushed candy, chocolate curls, or sprinkles all work well.
Flavor Ideas
An icebox cake can be flavored for any occasion or time of year, making them deliciously season-less.
- One made of peppermint chocolate wafers and mint whipped cream or an eggnog icebox cake is perfect for Christmas.
- One assembled with chai whipped cream and gingersnaps deserves a place on the Thanksgiving dessert buffet.
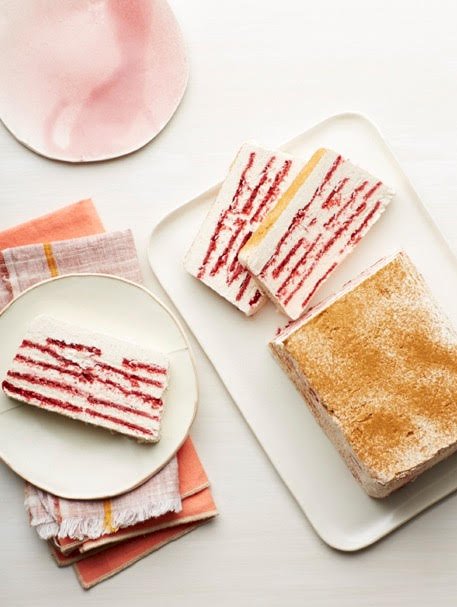
- The combination of lemon whipped cream with strawberries and ladyfingers is delightful in the spring.
- Who wouldn’t want a S’mores icebox cake in the summer?
You can always follow a specific recipe, and you will find many (as well as the gorgeous Tara Donne photos from this post) in the book I co-wrote on the subject, aptly named Icebox Cakes [paid link], and on my website: www.jessiesheehanbakes.com. But the beauty of icebox cakes is that you can also wing it, as it were, provided you follow the few pointers I have compiled – and promise me you’ll have loads of fun doing it!
FAQs
This tasty dairy based dessert is typically composed of some kind of “cake” layer and some kind of “cream” layer. The classic fridge cake recipe calls for chocolate wafer cookies and whipped cream. As the cake sits in the fridge, the whipped cream turns the cookies soft and tender, making them into a sort of cake.
No, these desserts are different. Icebox cakes are made from layering wafers or cookies with some kind of cream, and are prepared by leaving in the fridge. Ice cream cake is made with layers of baked caked and ice cream, and has to be kept in the freezer.
Icebox Cake
Ingredients
- 6 cups whipped cream you can use flavored whipped cream, Cool Whip, or homemade or store-bought pudding instead of whipped cream
- 70 chocolate wafers
- 2 tablespoons sprinkles or sanding sugar
Instructions
- Place 6 cookies on a serving plate in a circle and add a seventh to the center. Keep in mind that it is nearly impossible to transfer the cake to a different plate, so pick the plate you'd like the cake to ultimately be served on.
- Using a small offset spatula or butter knife, dab a bit of the whipped cream mixture beneath each cookie to anchor it to the plate.
- Place a scant 1/2 cup of cream on top of the cookies and spread the cream not quite to the edges of the cookies.
- Place another layer of cookies atop the whipped cream, staggering them (i.e. placing each cookie on this layer atop the space between two cookies on the prior layer). I like to use a tablespoon cookie scoop, or measuring spoon, and place a generous tablespoon of cream on top of the center cookie and on top of the space between each of the remaining cookies (rather than dolloping on a 1/2 cup portion).
- Apply another 1/2 cup of cream, and another seven staggered cookies, and continue doing so until you have a ten-layer cake.
- Place a final layer of whipped cream on top of the cake.
- Lightly cover with plastic wrap and let set-up in the refrigerator for at least 6 to 8 hours.
- Decorate with sanding sugar or sprinkles.
- Slice as you would a layer cake and serve.
Video
Notes
Nutrition

Jessie Sheehan is a cookbook author, baker, and recipe developer. She is the co-author of Icebox Cakes [paid link] (Chronicle Books, 2015), the author of the upcoming The Vintage Baker [paid link] (Chronicle Books, April 2018), and has contributed to many other cookbooks. She blogs at jessiesheehanbakes.com, writes and edits for various blogs and publications, and can be found on Instagram at @jessiesheehanbakes.
Loading comments...