
Desiccated Coconut
Desiccated coconut is fresh coconut that has been shredded or flaked and dried. It is typically unsweetened, but the term is sometimes also used to refer to the less dry sweetened flake coconut as well. Most people buy desiccated coconut at the store, but you can make it from scratch!
Ingredients and Equipment
Aside from a fresh coconut, you’ll need a screwdriver, a hammer, and a sieve to make flaked coconut.
How It’s Made
How to Open a Coconut
The first – and possibly hardest – part of making this recipe is opening the coconut.
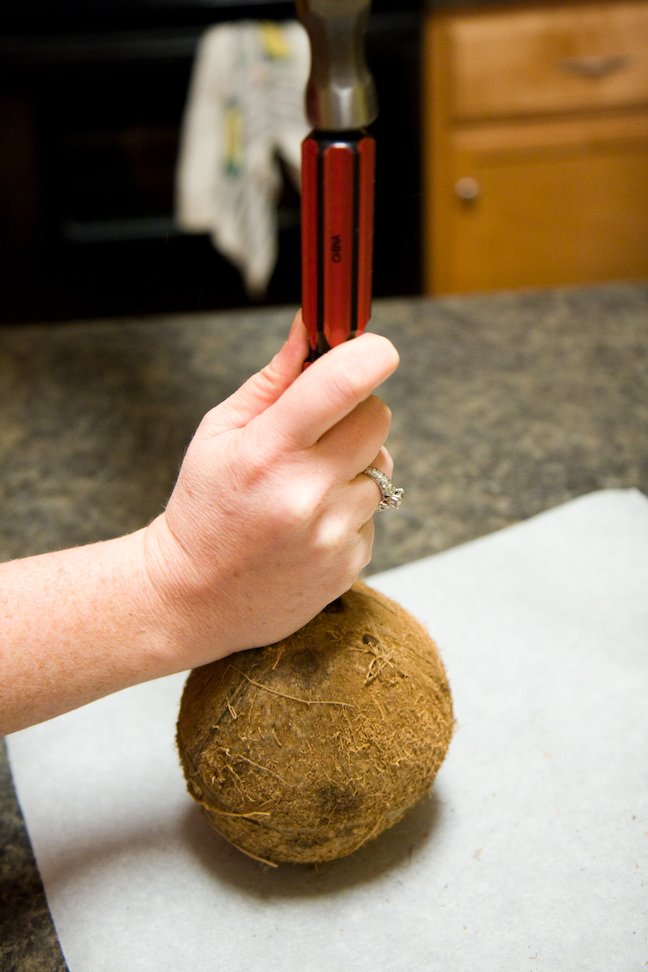
The easiest way to open the coconut is to poke a hole into one of three eyes of the coconut. I tried many methods for poking the hole, but I found that the best one was using a hammer and a meticulously cleaned screwdriver.
Draining the Coconut
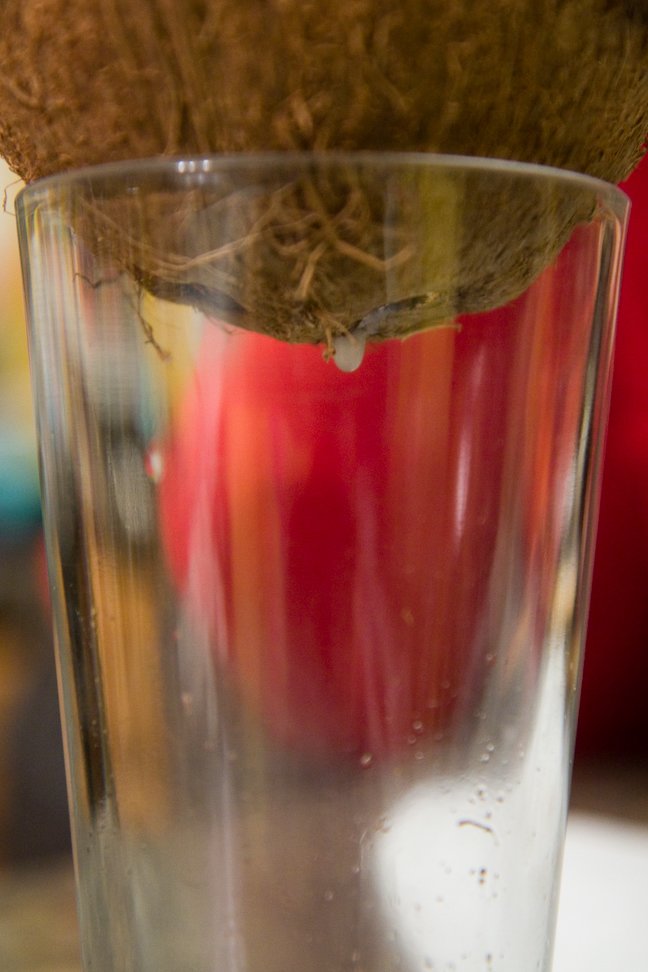
The next step is to drain the coconut water out of the coconut. The coconut water does not come rushing out. You may need to give the coconut a good shake. You may also need to poke open one or two of the other eyes.
Note: If you plan to make sweetened coconut, be sure to save and filter the coconut water.
The amount of coconut water in each coconut will vary greatly. I’ve seen as little as 1/4 cup and as much as 1 1/4 cups. It doesn’t matter how much yours has; this recipe will still work.
Getting the Coconut Meat Out of a Coconut
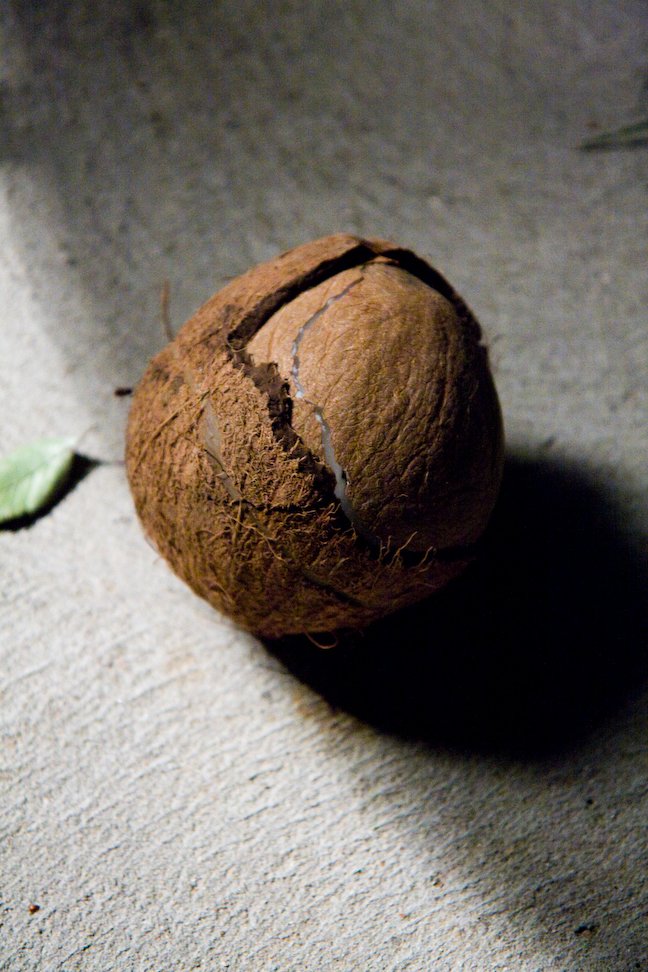
Next, you’re going to split the coconut apart. This sounds crazy, but the easiest way to do this is to take the coconut outside and throw it on some concrete. You may want to try screaming while you do it. It’s quite the stress reliever and far better than tossing around your fine china!
The coconut should break open and you can collect any pieces that may have flown about.
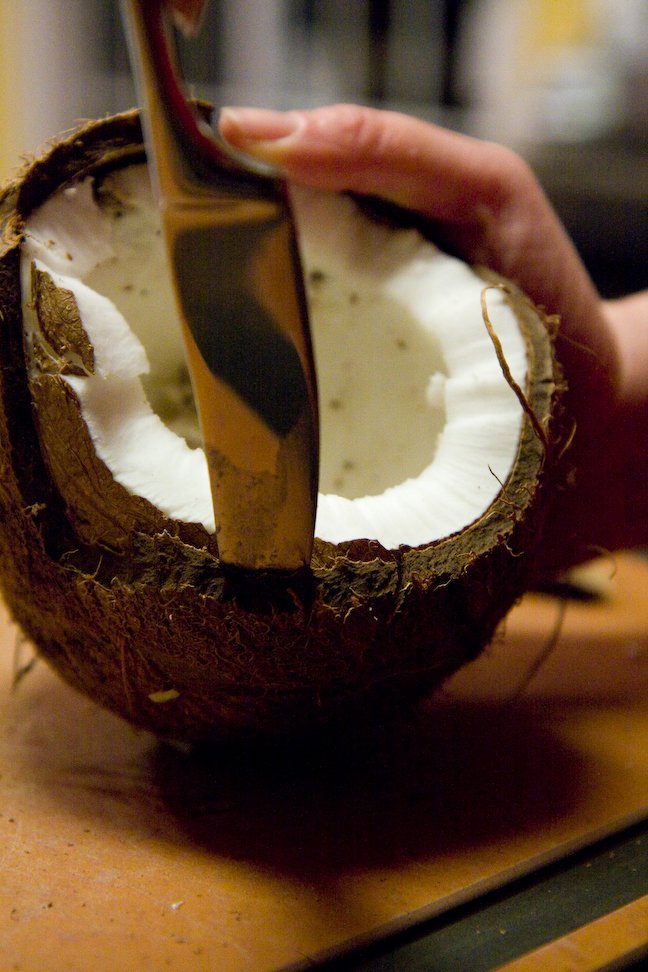
Use a dinner knife to separate the coconut’s inner shell from the hard outer shell. It would be best if you had an old one that you don’t care about so you don’t risk bending and damaging your nice knife.
This is one of the tougher parts of the process. It takes some strength.
Peel the soft inner shell off the of the coconut meat. You can use a vegetable peeler to do this.

Prepping the Coconut Meat
You typically see desiccated coconut shredded. You can do this using the fine side of a box grater [paid link].
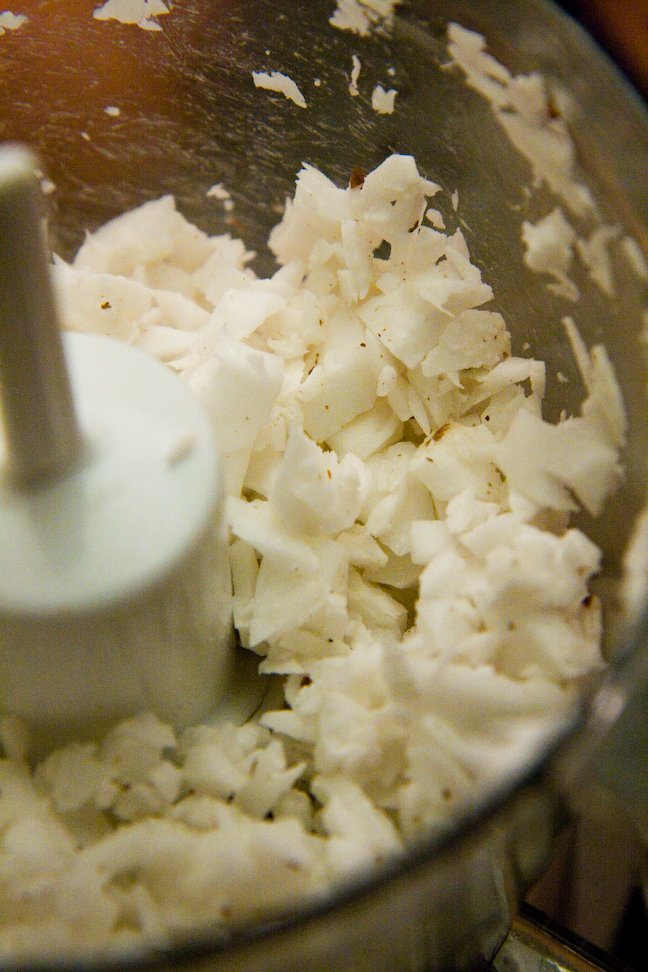
If you want to save time and don’t care as much about the coconut being super thin, you can simply chop or grate the coconut in a food processor.
A small coconut might yield about two cups of chopped coconut, while a larger one could have four cups.
Unsweetened Desiccated Coconut
If you plan to make the unsweetened version, the next step is to lay to the coconut out on a cookie sheet in a single layer and bake at 250 F until it feels brittle. This should take just 5-10 minutes – check on it regularly.
Store this version in an airtight container at room temperature. It should last for months.
Sweetened Desiccated Coconut
The process is similar to make moist, sweetened coconut (like Baker’s Angel Flake Coconut [paid link]).
Start by do all of the steps above except drying the coconut.
Put the shredded/chopped coconut in a saucepan on medium heat with the coconut water (however much you had), and 1/3 the amount of sugar as coconut: if you have two cups of coconut, use 2/3 C of sugar.
Bring the mixture to a boil (this takes 10-15 minutes) and then turn the temperature to low. Then, let it simmer uncovered for about an hour. The liquid should turn into a syrup.
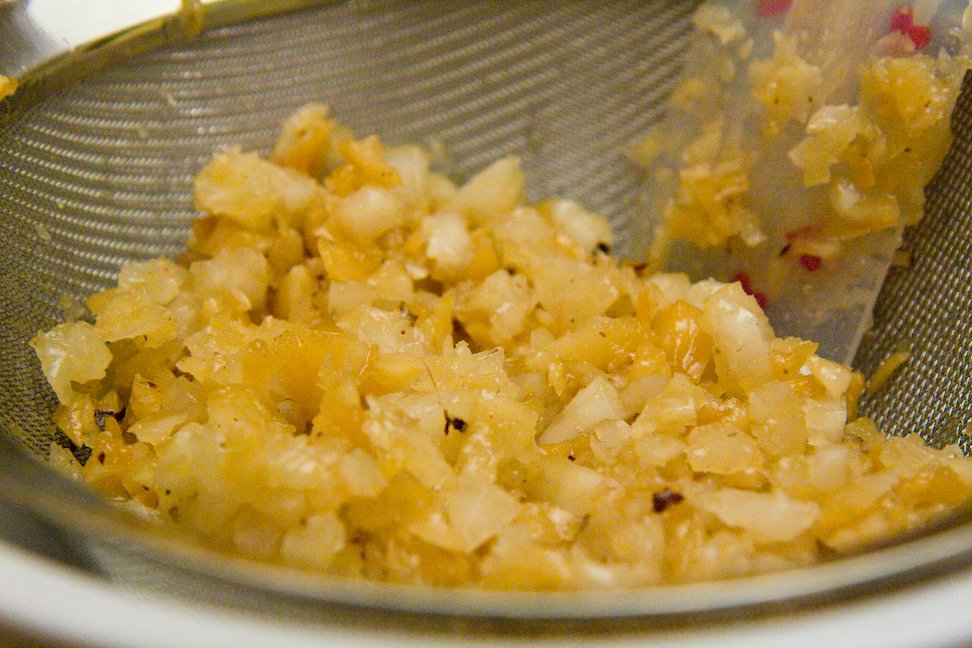
Strain the coconut using a sieve.
Tip: You can use the coconut syrup that you’ve strained out over pancakes, ice cream, in drinks, or just eat it by the spoonful!
Lay the coconut out in a thin layer on a cookie sheet lined with parchment paper or a silicone mat to dry overnight. In the morning, the coconut will be dry and ready to eat.
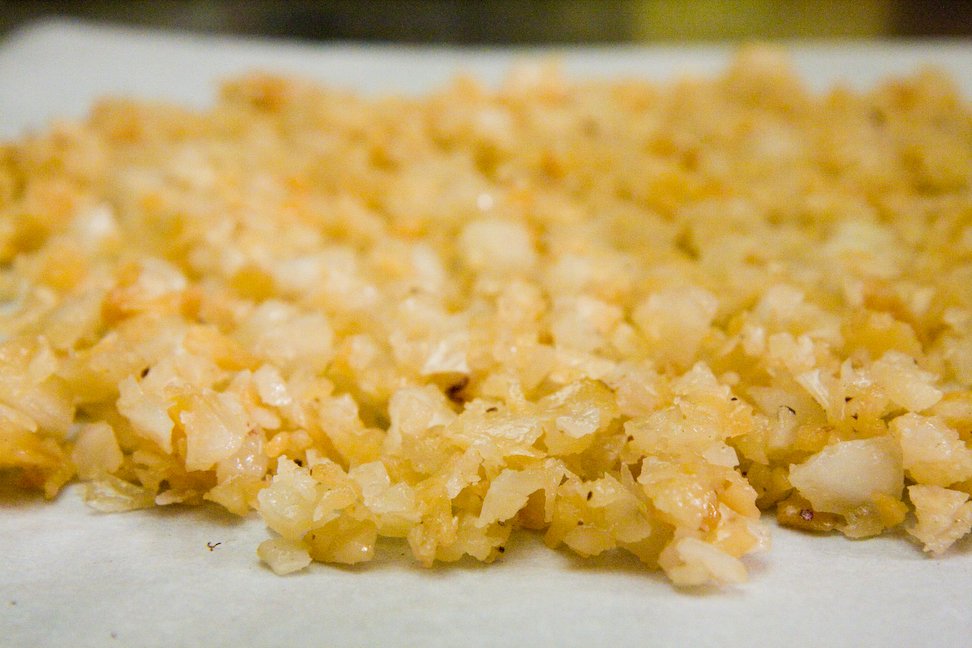
Because it is so moist, if you aren’t using it right away, you should refrigerate it. It should last for a few weeks in the refrigerator in an airtight container.
Expert Tips and FAQs
After you’ve drained out the liquid, take the coconut outside and throw it onto concrete. If you have a towel you don’t care about, you might consider wrapping up the coconut.
Another way that people open a coconut is to use a hammer to hit the coconut all around its circumference. While this works, watch your aim!
If you’re going to use a food processor to shred it, you can use a spoon to remove the meat a little at a time.
If you’re making the unsweetened version, keep it in an airtight container at room temperature for up to a few months. If you’re making the sweetened version, store it in a refrigerator in an airtight container and it should last for a few weeks.
The store-bought version often uses a whitening agent to get it such a nice white color.
Related Recipes
- Coconut chips
- German chocolate cupcakes
- Piña Colada cupcakes
- Coconut macaroons or chocolate macaroons
- Coconut clusters
- Coconut layer cake
Desiccated Coconut
Instructions
- Poke a hole into one of three eyes of the coconut by hammering a meticulously cleaned screwdriver into the hole.
- Drain the coconut water out of the coconut. The coconut water does not come rushing out. You may need to give the coconut a good shake. You may also need to poke open one or two of the other eyes. If you plan to make sweetened coconut, be sure to save the filtered coconut water.
- To break open the coconut, take it outside and throw it on some concrete. Collect all of the pieces.
- Use an old dinner knife that you don’t care about to separate the coconut’s inner shell from the hard outer shell.
- Use a vegetable peeler to peel the soft inner shell off the of the coconut meat. You can use a vegetable peeler to do this.
- Shred the coconut meat using fine side of a box grater or (if thin flakes aren't important to you) chop the coconut in a food processor. If your food processor has a grating blade, that will also work well to shred the coconut meat.
- Put the shredded coconut on a cookie sheet lined with parchment paper or a silicone mat and bake at 250 F until it feels brittle. This should take5-10 minutes – check on it regularly. (Skip this step if you prefer the more moist sweetened coconut and follow the instructions in the notes.)
Notes
- Put the shredded/chopped coconut in a saucepan on medium heat with the coconut water (however much you had), and 1/3 the amount of sugar as coconut: if you have two cups of coconut, use 2/3 C of sugar.
- Bring the mixture to a boil (takes 10-15 minutes) and then turn the temperature to low.
- Let it simmer uncovered for about an hour. The liquid should turn into a syrup.
Strain the coconut in a sieve. You can use the coconut syrup over pancakes, ice cream, in drinks, or just eat it by the spoonful. - Lay the coconut out on a parchment or silicone-mat lined cookie sheet to dry overnight. In the morning, the coconut will be dry and ready to go.
Loading comments...