
Apple Butter Caramel Icing
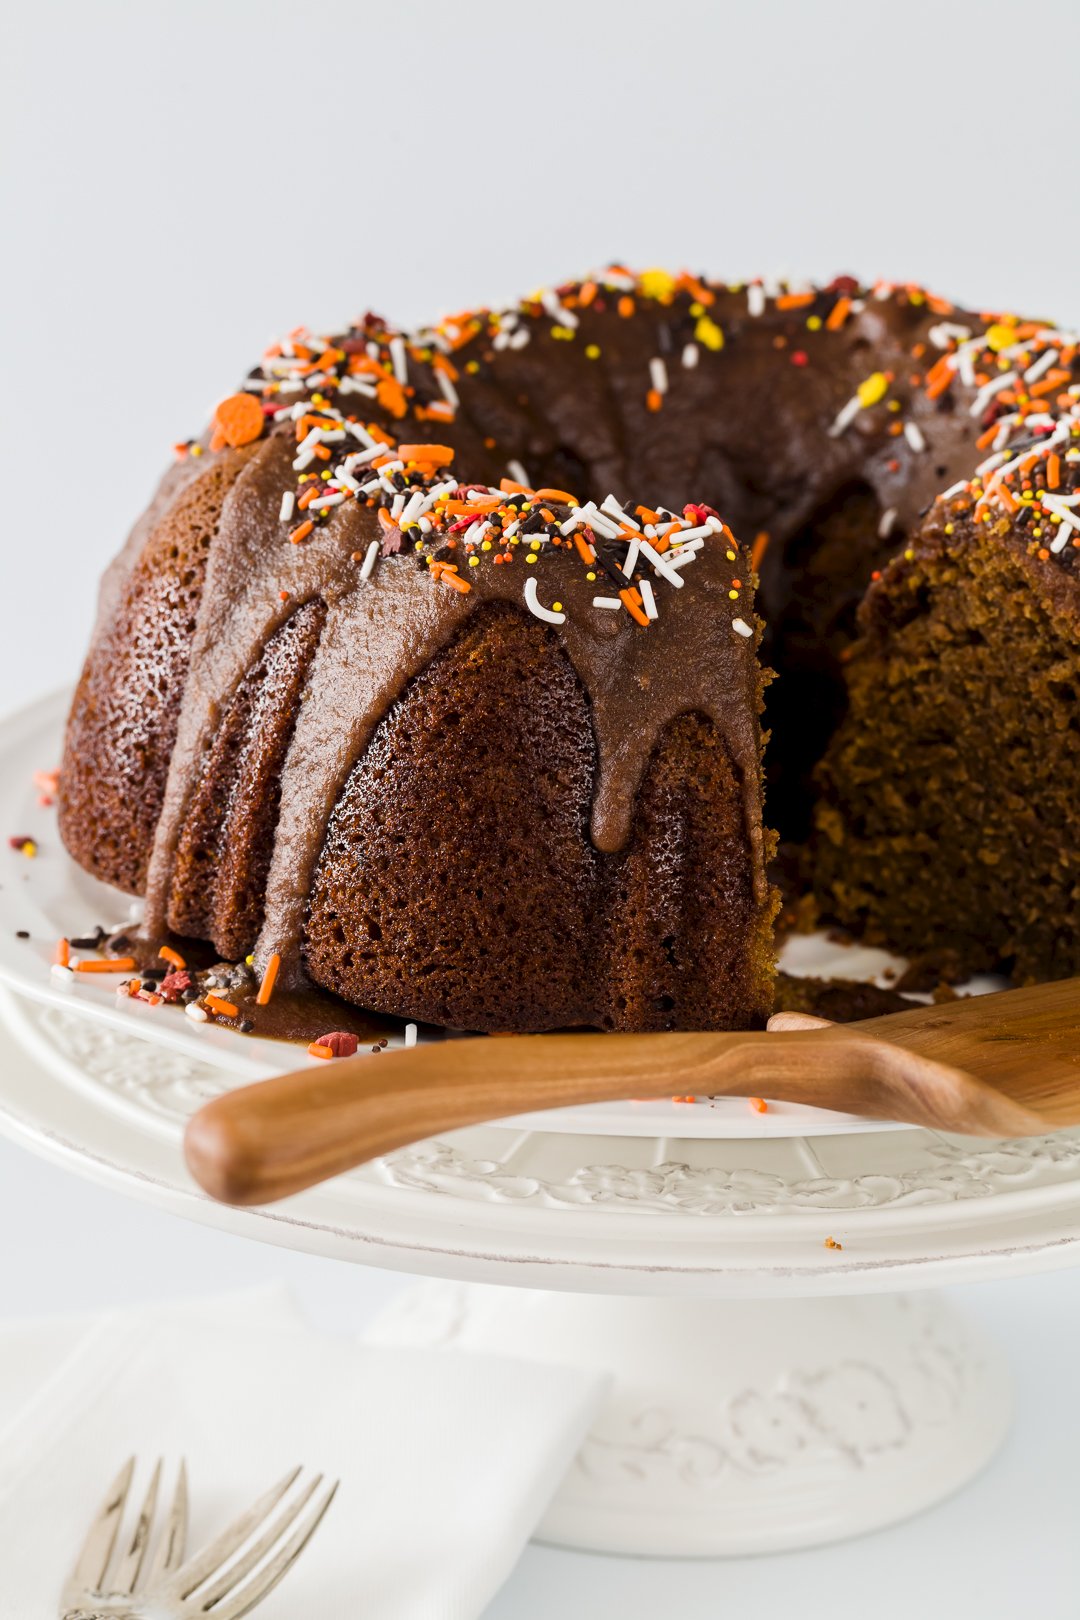
This apple butter frosting recipe is made with brown sugar, apple butter, and cinnamon and is perfect for any fall cupcake - or for eating with a spoon! It's sweet, but not too sweet, …
Read more...
Published , Last updated by Stef