
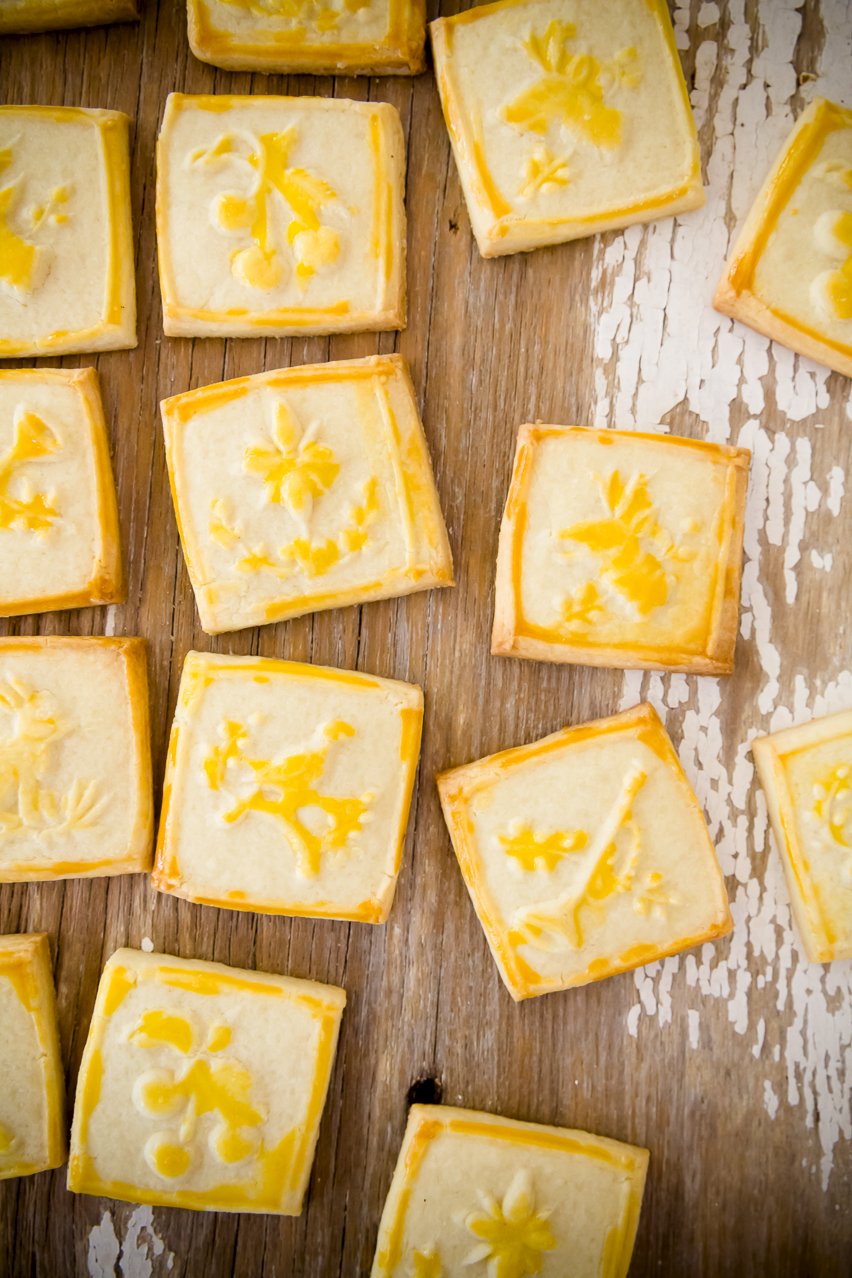
Homemade Chessmen Cookies Recipe

I spent three days of my life figuring out how to make homemade Chessmen cookies so you don’t have to.
When I was done, I gave my husband a piece of one of these Chessmen cookies from the bag and a piece of one of mine – he thought he was eating the same cookie. I did a HUGE happy dance! (View on Amazon) [paid link]
Before I figured things out, I had a lot of failures.
Chessmen Fails
I struggled with the recipe proportions, the cookie thickness, and which tool to use to make the raised images. My biggest struggle, however, turned out to be figuring out how to get the raised images to be the perfect caramel color. I tackled the problems one at a time.
First was cracking the Chessmen cookie recipe…
Cracking the Chessmen Cookie Recipe
One thing that is nice about store-bought Chessmen cookies is that the ingredients are actually things you’ve heard of. They don’t contain artificial colors and flavors. So, just by reading the back of the bag, I knew what should go into my copycat Chessmen cookies. The only thing I didn’t know was the proportions. I was able to determine the ratio of butter to sugar by looking at the nutritional information on the package and seeing how many grams of fat and sugar were in the cookies. I just guessed at the proportions of the remaining ingredients until the dough had the consistency that I needed. The only ingredient that I left off was cream of tartar. I didn’t miss it.
Next, I had to get the images onto the cookies…
Getting the Images Onto the Cookies
At first, I thought I would need a shortbread pan to make Chessmen. My experiments with that led to the larger, thicker cookies that you see in my fail image. (View on Amazon) [paid link]
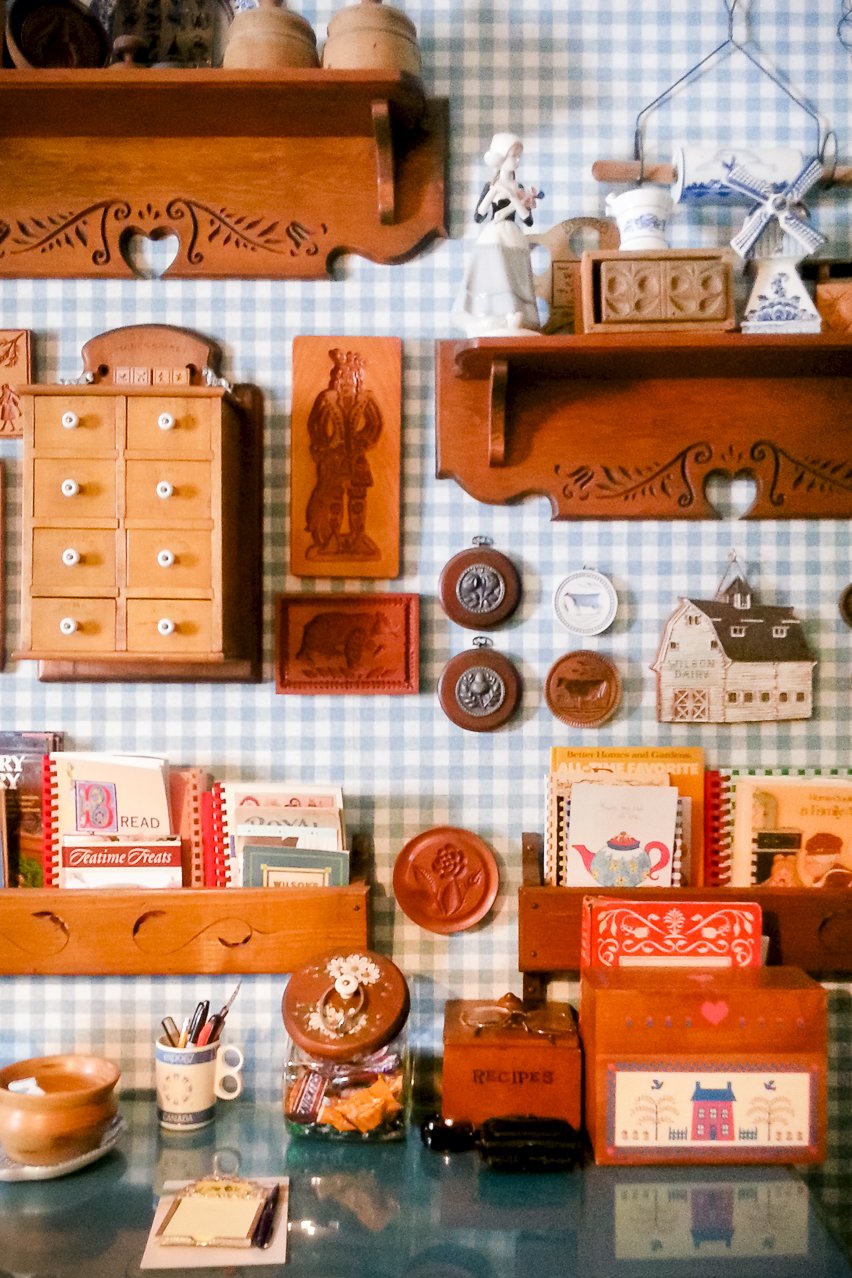
I learned that what I needed was a springerle cookie mold. I then discovered that Gene, one of the online cookie mold sellers (cookiemold.com), lived just half an hour from my house. I headed to his home to explore his selection of hand-carved molds. I wanted to take them all home and I especially admired some of the display pieces that he had made and collected over the years.
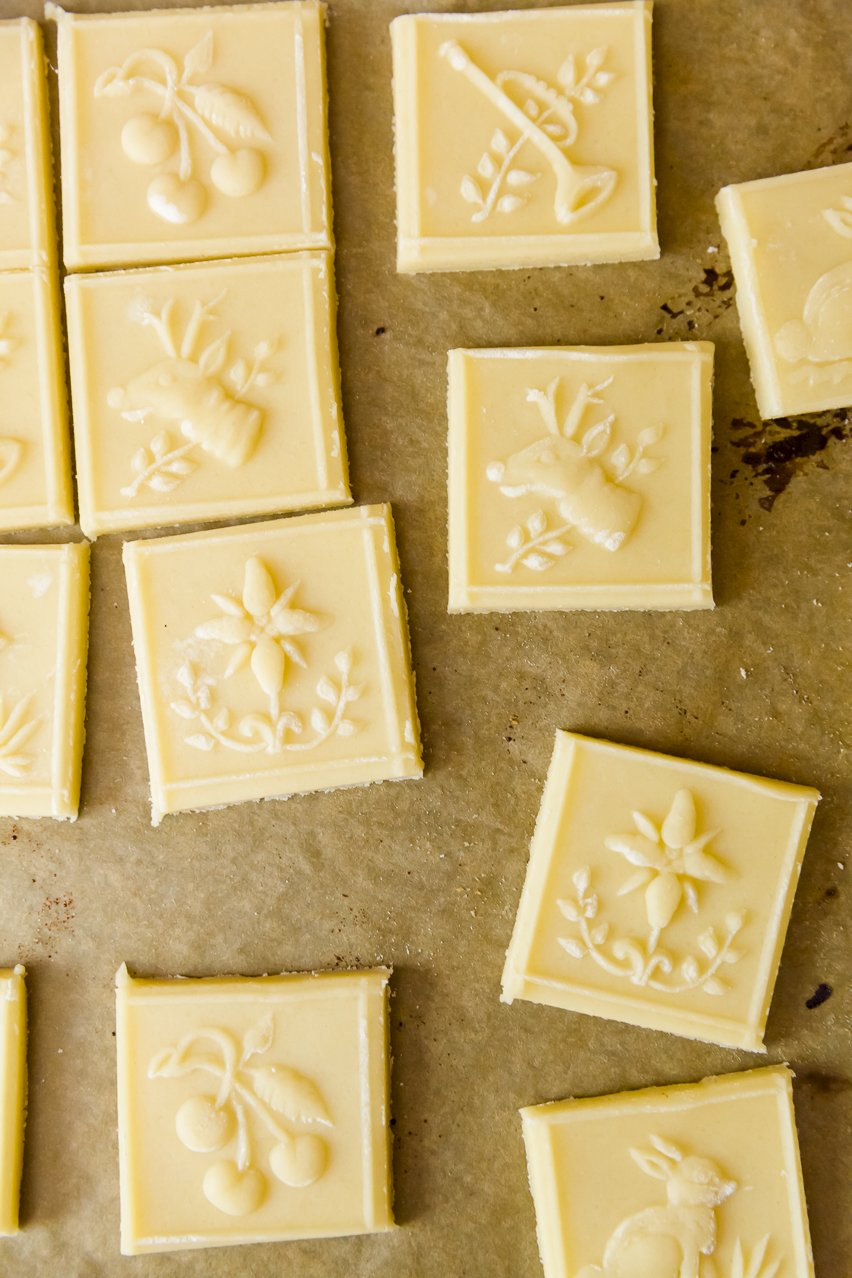
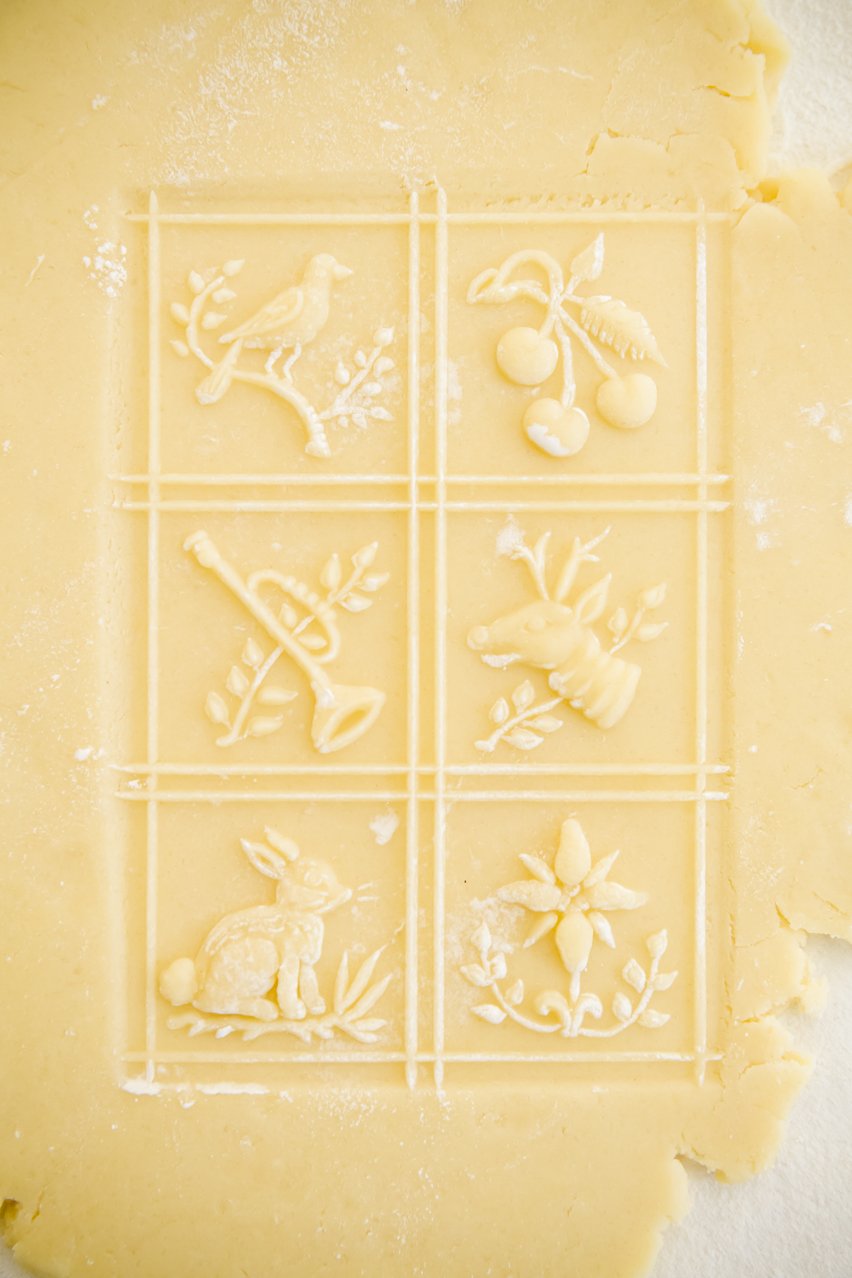
I left with a mold that makes 6 cookies. I liked it because it has images that work for spring and summer, but the trumpet, deer, and cherries could just as easily work for Christmas.

To use the cookie mold, lightly dust it with flour (as shown above) and then press into rolled out dough with all of your strength (I used my entire body weight).
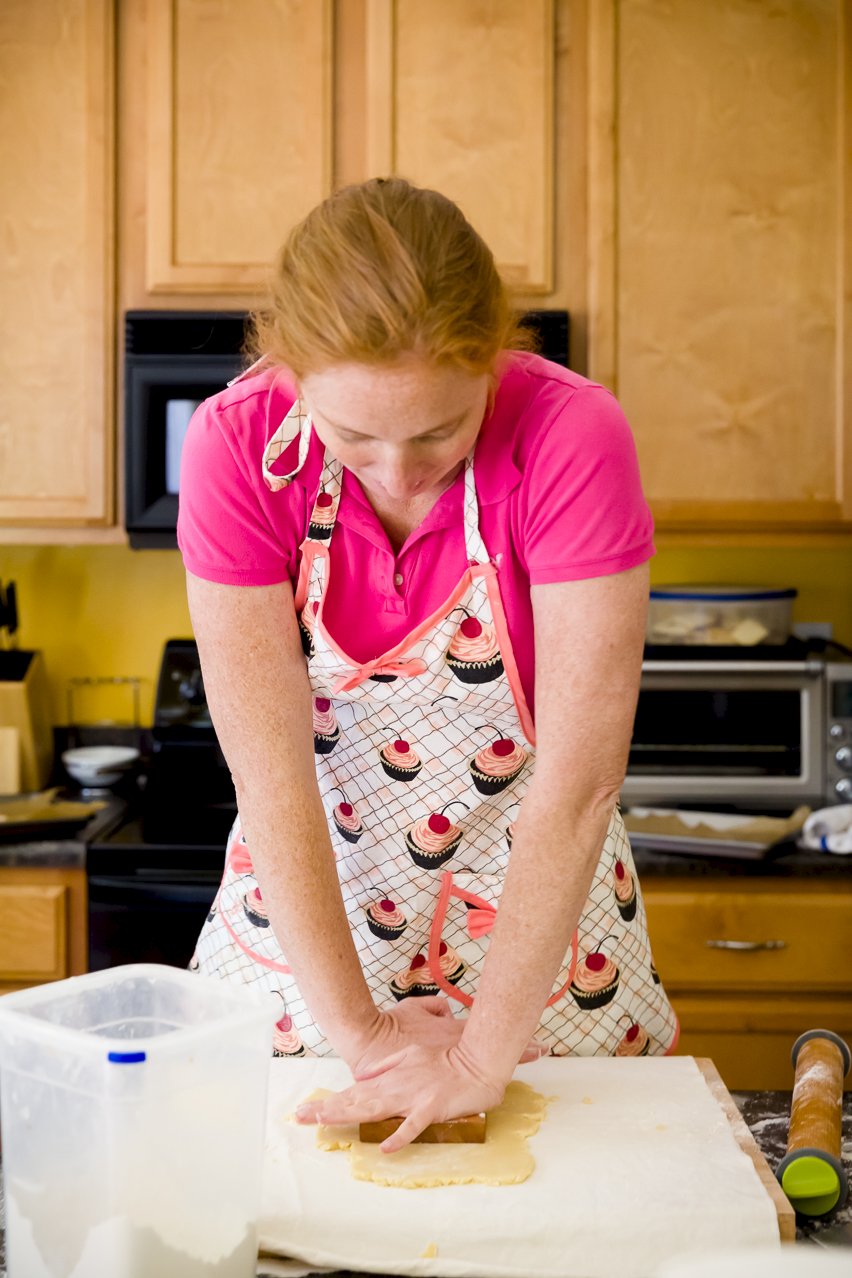
After lifting the mold, use a bench scraper or a knife to cut out the cookies prior to baking.
It is really important that the dough is evenly rolled. There’s a trick to this! If you use this rolling pin, the rings at the end won’t let you roll any thinner than the depth of the ring so everything ends up equally thick. (View on Amazon) [paid link]
I also learned through experimentation that working with room temperature dough worked best, and that freezing the stamped cookie dough prior to baking keeps the images clear.
If you want to reproduce the taste of Chessmen cookies but don’t care about the appearance, you could skip the mold entirely and just use simple cookie cutters. But, working with cookie molds to make such pretty cookies is half of the fun.
The last challenge was getting the golden color on the Chessmen cookies’ images…
Getting Color On the Pictures
Figuring out how to reproduce the color on the images of the Chessmen cookies was the hardest part of my challenge. Here are some things that we (I say “we” because Jonathan helped a ton with this – he likes a challenge too!) tried that didn’t work:
- I was convinced that the color on the elevated part of Chessmen cookies came from sugar. Jonathan had the idea of dipping the cookies in melted sugar so that just the picture would touch the sugar. We thought we had it figured out. Nope! It was too hard to control the temperature and many of the cookies ended up looking like caramel-coated messes.
- We tried sugar and a culinary torch.
- We added sugar before baking. It did nothing.
- We added melted butter before baking – nothing.
- Next was egg white wash before baking – nothing.
- Then there was milk wash before baking – nothing.
As I moved to some of these later experiments, the Cupcake Project Pinterest Explorers (a dedicated group of Pinterest fans) started following along and giving me advice. They are an amazing group! The Cupcake Project Facebook Page also lit up with all kinds of ideas for me. Finally I found the magic trick – an egg yolk wash prior to baking. But, for the life of me, I couldn’t figure out how to get the egg yolk to stay just on the pictures. Lindsey from Baking Bytes had the answer.
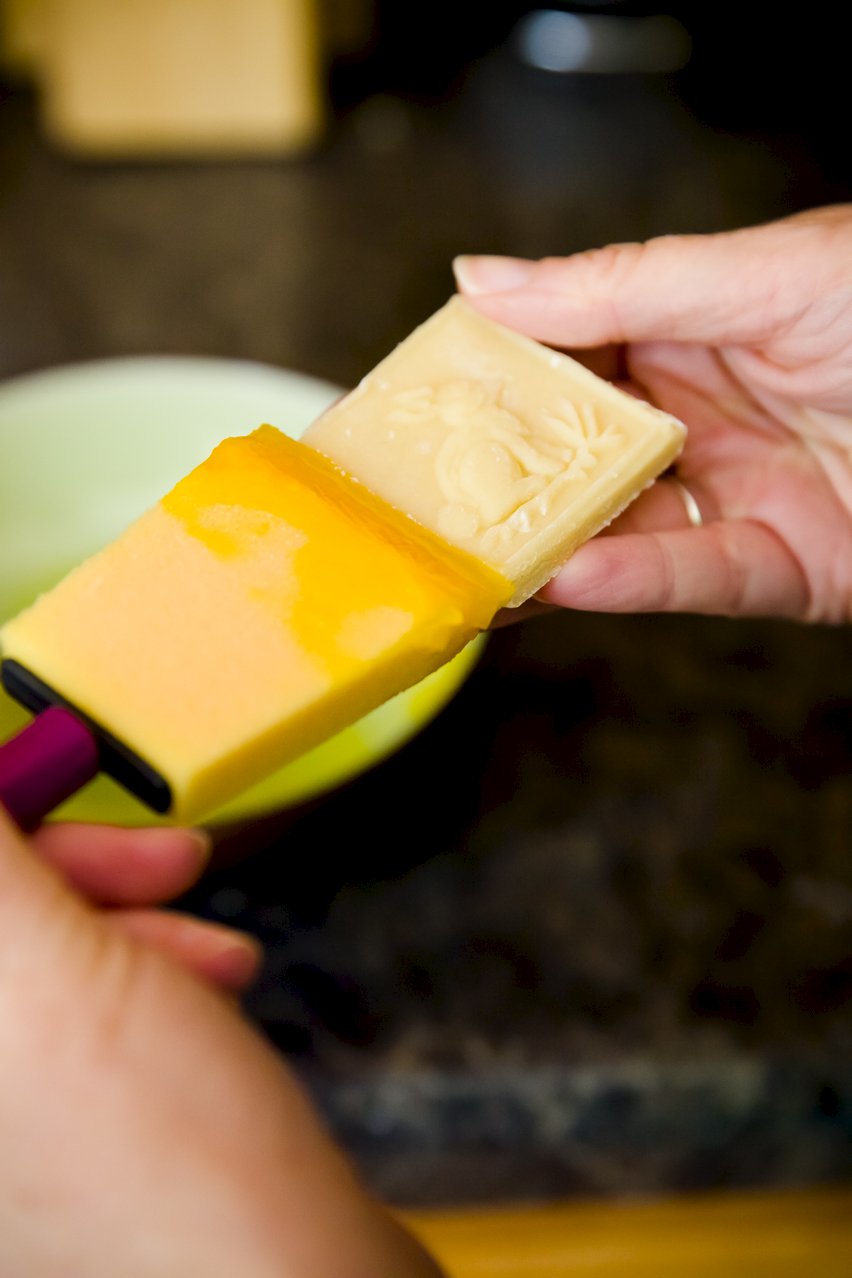
She suggested using a thick foam brush. I had the one above on-hand from a pack I had bought for art projects with my son. It turned out to be SO much easier to work with than the paintbrush I had been using. With a regular paintbrush, the bristles kept dropping into other parts of the cookie. I had so much more control with the foam brush.
A makeup sponge would also be perfect for this. (View on Amazon) [paid link]
HUGE thanks to Lindsey! (Random side note: Go check out her peanut butter fudge ripple ice cream!)
And now, the recipe…
Homemade Chessmen Cookies Recipe
Homemade Chessmen Cookies
Ingredients
- 3/4 cup unsalted butter room temperature
- 2/3 cup sugar
- 1 large egg
- 1 tablespoon milk
- 1/2 cup cornstarch
- 2 cups all-purpose flour
- 1/4 teaspoon salt
- 2 or 3 egg yolks whipped
Instructions
- In a medium-sized mixing bowl, mix butter and sugar until light and fluffy.
- Mix in egg.
- Mix in milk.
- In a separate bowl, whisk together cornstarch, flour, and salt.
- Add dry ingredients to butter mixture a little bit at a time until it is all added. Keep mixing until the dough comes together and stops looking crumbly.
- Roll out dough to 1/4" thick.
- Use a springerle cookie mold lightly dusted with flour to stamp the cookies with a pattern.
- Cut the cookies out with a knife or a bench scraper and place onto a cookie sheet lined with parchment paper.
- Repeat until all the dough is used.
- Place the cookie sheet in the freezer for at least an hour.
- Preheat oven to 375 F.
- Remove the cookie sheet and use a thick foam brush or simply a thick foam sponge (like you'd get at a makeup supply store) to paint egg yolk onto each cookie's image.
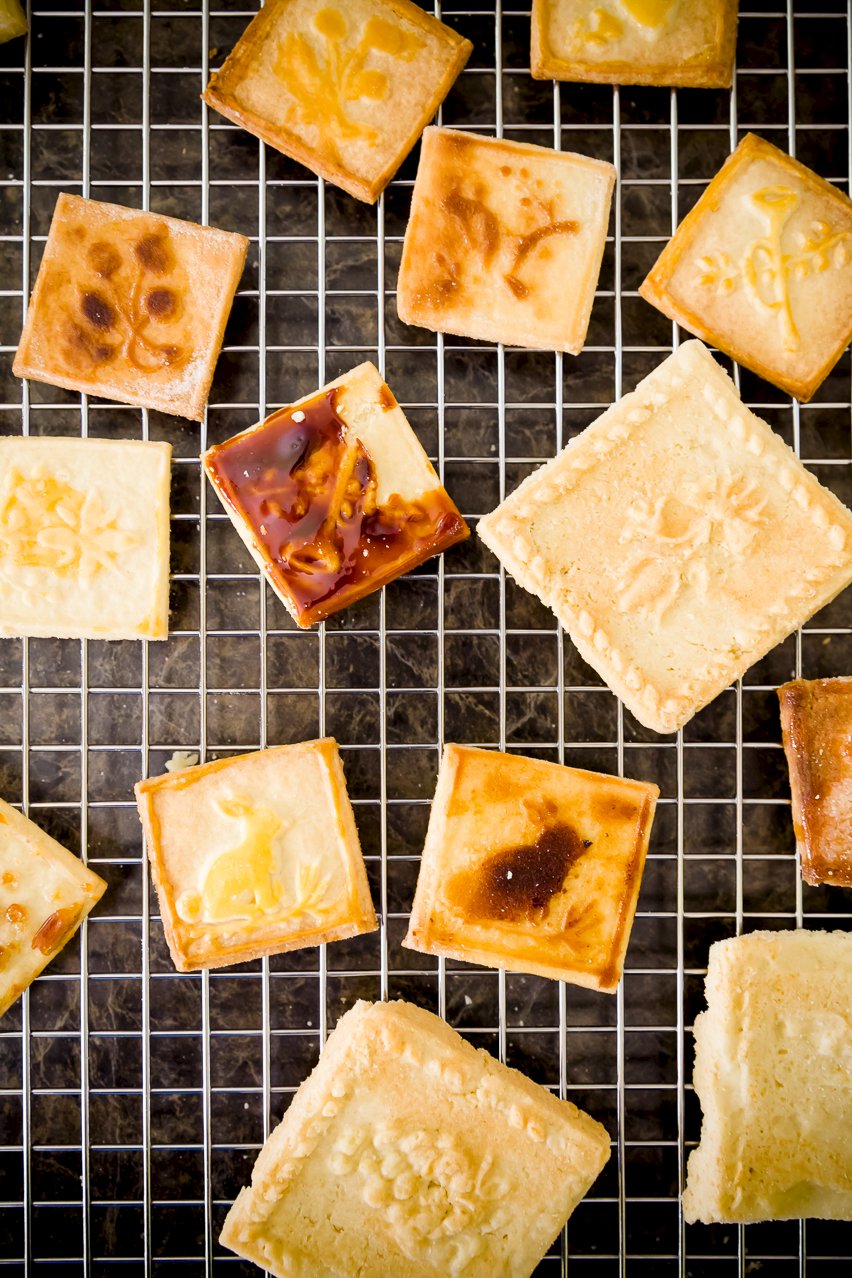
- Bake for 9 minutes or until the egg-washed portions of the cookies are a light caramel color.
- Set cookies out on a cooling rack to cool.
Loading comments...